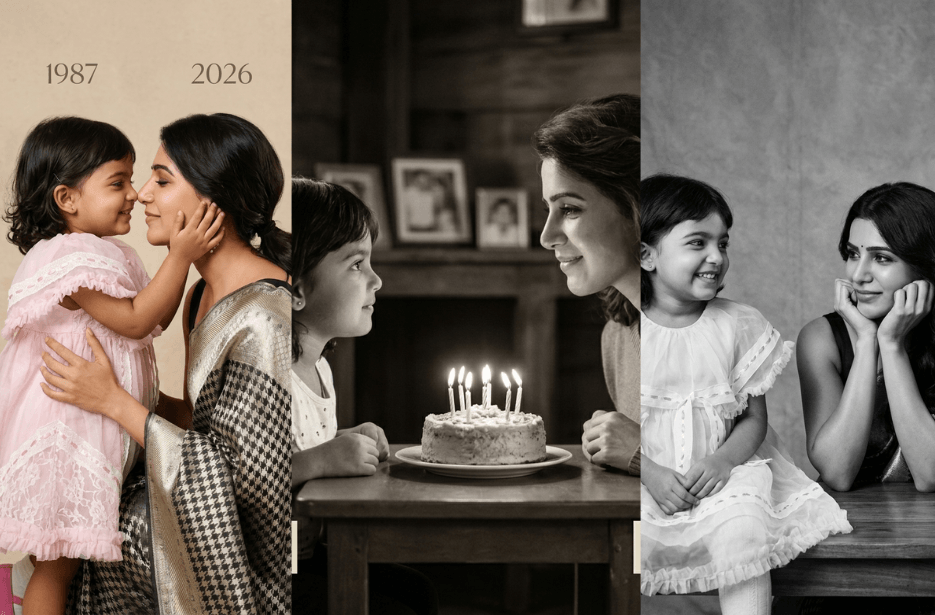
What if you could sit face-to-face with your younger self and share a quiet, meaningful moment? Thanks to AI, that idea is no longer just imagination; it can become a powerful, visual reality. By combining old and recent photos, you can create a deeply emotional portrait that captures both who you were and who you have become. In this guide, you will learn how to use a carefully crafted AI prompt to generate a realistic, black-and-white image that feels like a professional photoshoot.
Admiring Myself:
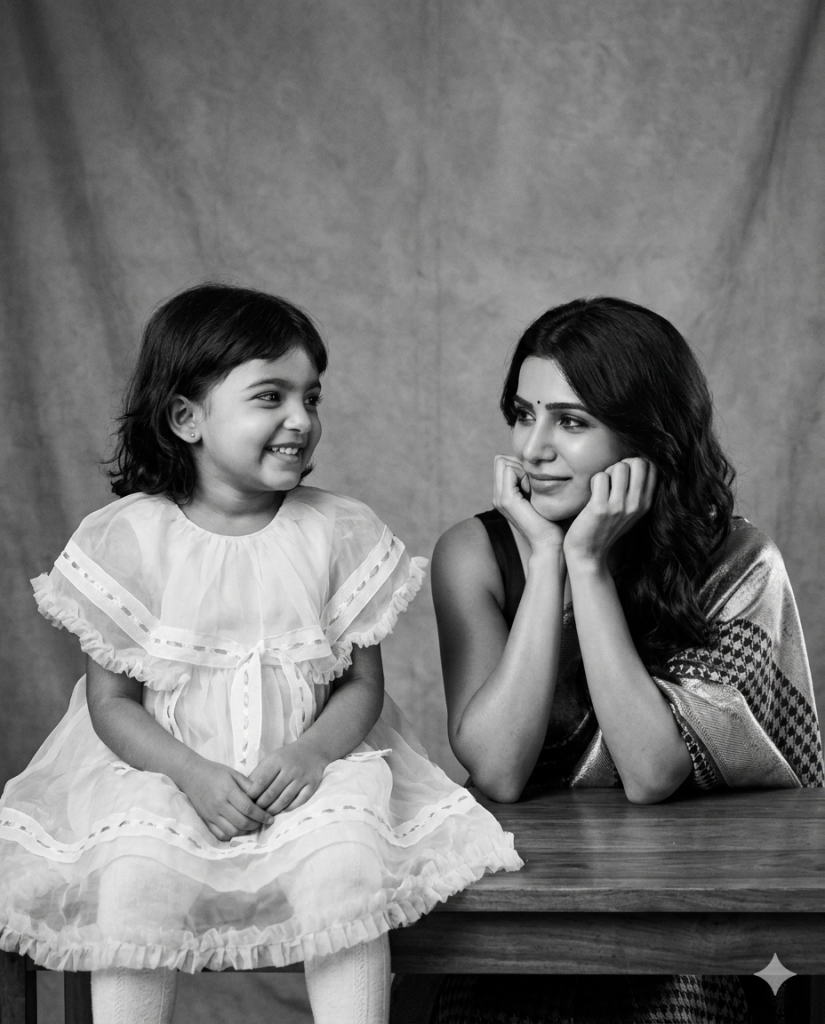
On the right side, show the present (adult) version based on a recent photo, maintaining the same identity and facial features without alteration. She is seated with her hands softly placed under her chin, gazing toward the child with a calm, tender, and slightly nostalgic smile. Her expression should communicate warmth, reflection, and a deep emotional connection, as if silently acknowledging her past self.
The focus of the image is the emotional bond between the two versions—nostalgia, self-reflection, inner peace, and continuity through time. Their eye lines should meet or feel naturally connected, suggesting a quiet, meaningful interaction. Use soft, cinematic studio lighting with gentle falloff and diffused illumination that creates smooth gradients and delicate shadows. Even in black and white, the lighting should feel warm and expressive, avoiding harsh contrasts while maintaining depth.
Place them against a clean, minimal, seamless studio background that is soft and slightly blurred, with no distractions, allowing full attention on the subjects. The style should resemble professional fine-art portrait photography, ultra-realistic with high detail, natural skin texture, and authentic rendering. Avoid over-stylization; the result should feel like a genuine, high-end photoshoot captured with a full-frame camera and a prime lens. Include a subtle depth of field with sharp focus on the faces and a softly blurred background, and optionally add a very light film grain for realism.
Ensure all original facial features remain accurate and unchanged. The final image should feel intimate, timeless, and emotionally powerful, as if both past and present versions exist together in the same quiet moment.
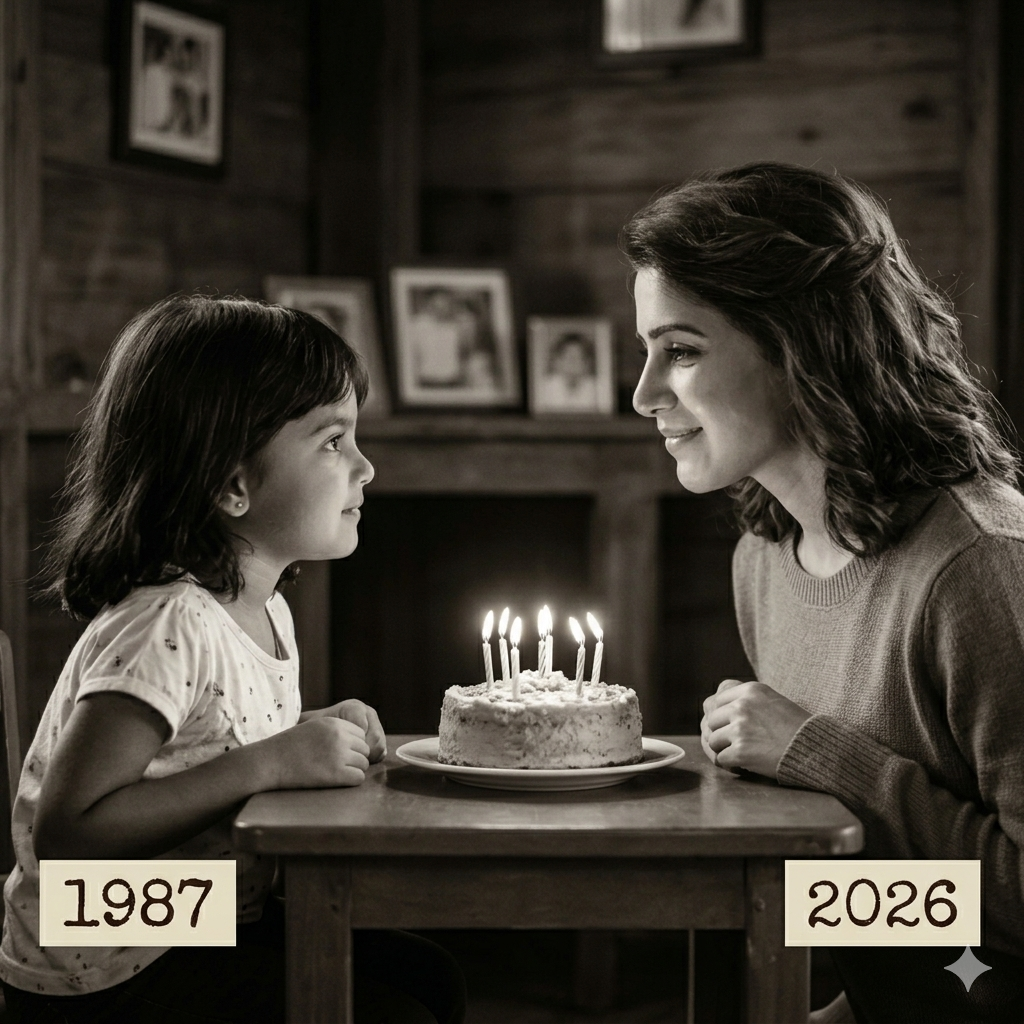
You Did a Good Job!
My Cutie Littlepie:
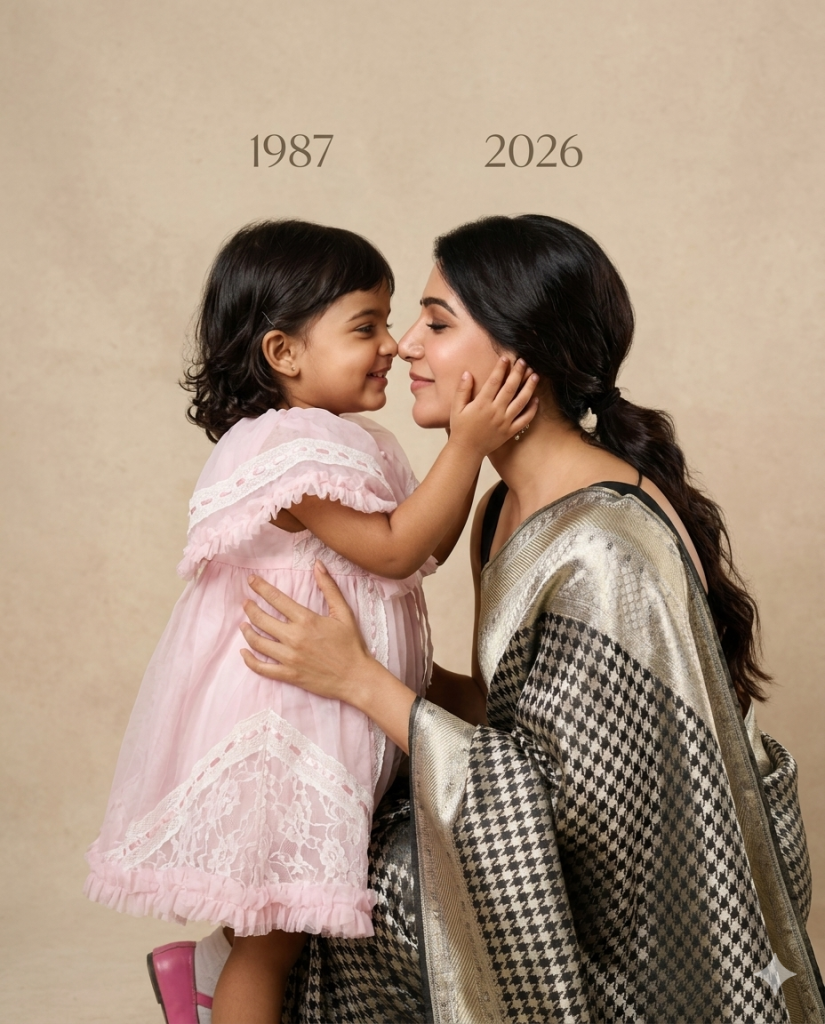
On the right side, show the adult version of the same person. She is smiling softly with her eyes closed, leaning forward so their noses touch, expressing deep love, nostalgia, and connection.
Both subjects are embracing each other naturally, with the adult holding the child securely. Their faces are very close, almost touching, creating an intimate and emotional moment.
Background should be a plain, soft beige studio backdrop with a smooth texture. Lighting must be soft, warm, and cinematic, with gentle shadows and natural skin tones. The image should look like a professional studio photoshoot, ultra-realistic, high detail, sharp focus on faces, shallow depth of field.
Add minimal text in the background:
“1987” above the child on the left and “2026” above the adult on the right, in a simple elegant font.
Style: photorealistic, emotional storytelling, warm tones, natural skin texture, 85mm lens, f/2 depth of field, high-resolution, professional portrait photography.
Aspect ratio: 4:5
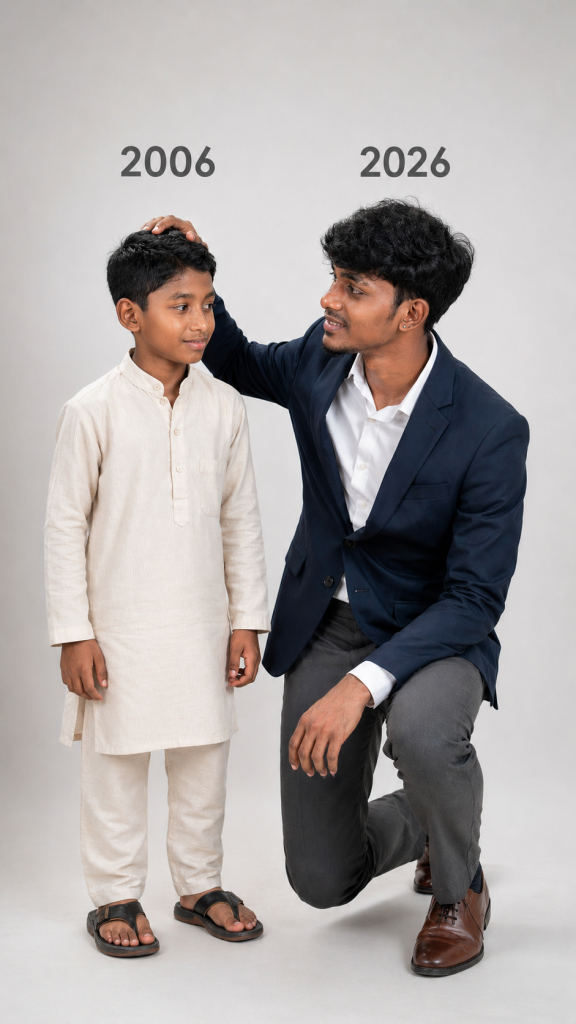
I am “Him”
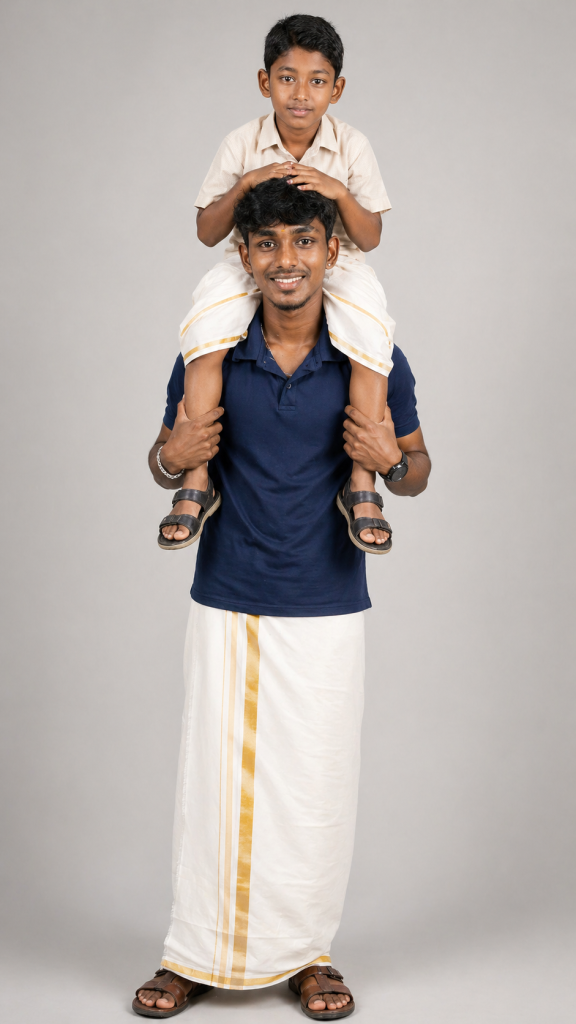
Our Birthday:
Between them sits a small round birthday cake with lit candles glowing softly, casting warm light on their faces. Both lean slightly forward, gazing at each other with a deep emotional connection and sense of nostalgia.
The setting is indoors with a softly blurred background (wooden doors or rustic interior), shallow depth of field, soft cinematic lighting, and subtle shadows. The mood is sentimental, timeless, and reflective.
Style: photorealistic, high detail, soft cinematic lighting, shallow depth of field, emotional storytelling, vintage sepia color grading.
Time Travel:
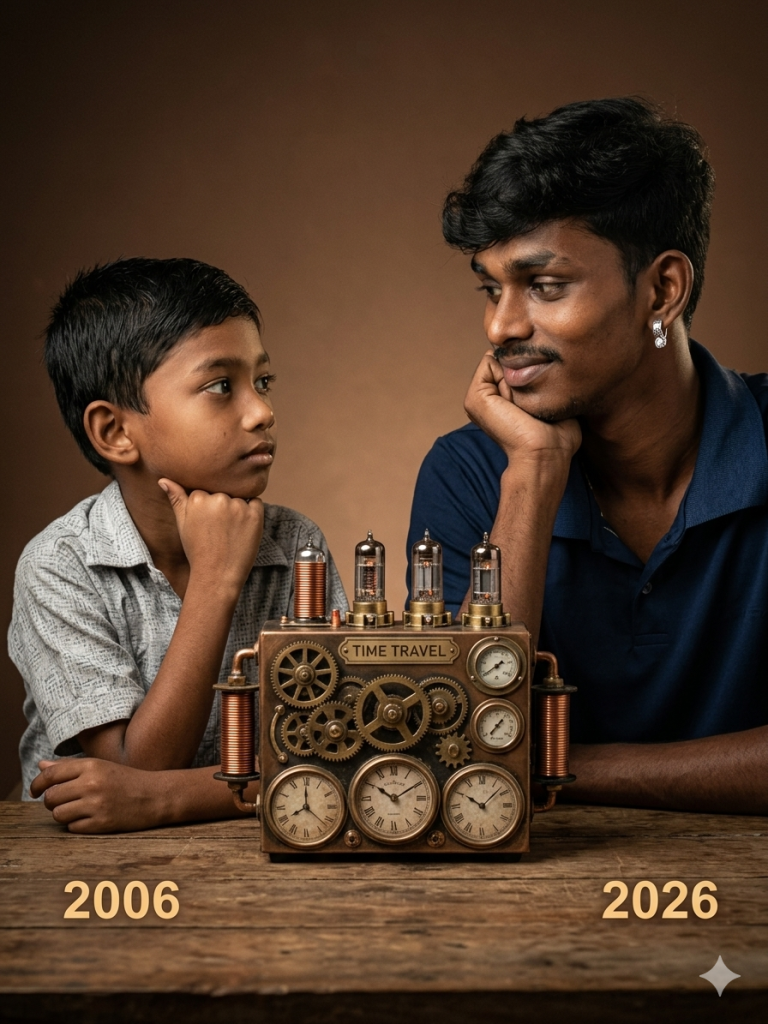
Between them on a wooden table is a detailed vintage steampunk-style time machine device with gears, brass elements, glowing clock face, and a small label reading “TIME TRAVEL.” Warm studio lighting, soft shadows, brown gradient background, symmetrical composition, both subjects facing each other with emotional connection, highly detailed, photorealistic, shallow depth of field, 85mm lens look, high resolution.
Optional negative prompt (for better results):
blurry, low quality, distorted face, extra limbs, cartoon, unrealistic lighting, text errors, watermark.
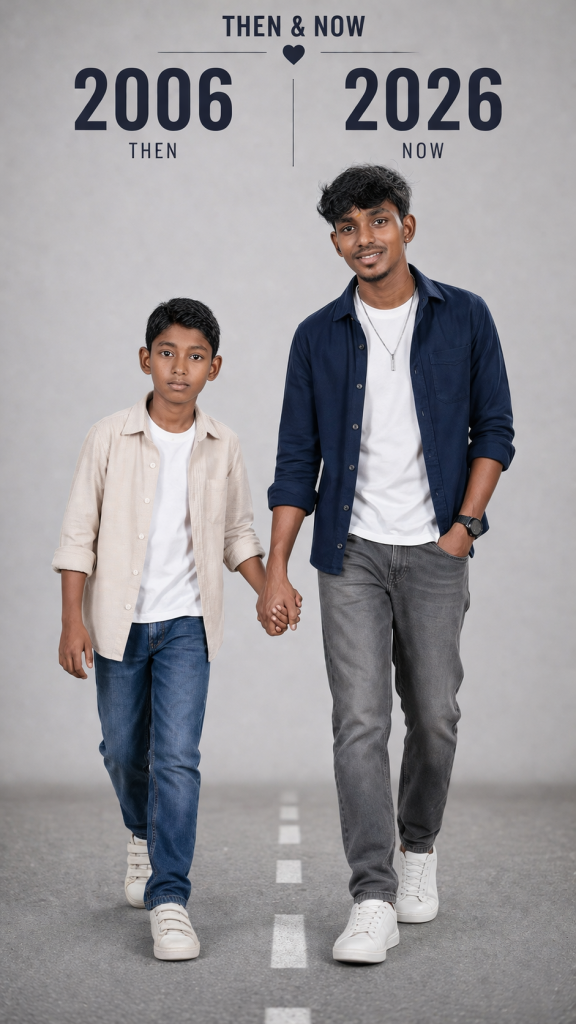
Then Vs Now
How to Use These Prompts
1. Below each image, you will see a prompt box with two buttons: Copy and Share to AI.
2. You can tap Copy to copy the full prompt manually. Or simply tap Share to AI; this will automatically copy the prompt for you.
3. After tapping Share to AI, a list of popular AI tools like ChatGPT, Gemini, Copilot, and others will appear on your screen.
4. Click on any AI tool you prefer. It will directly open the selected AI platform.
5. Once the AI page opens, paste the prompt into the prompt box (it is already copied if you used Share to AI).
6. Upload your reference image if required.
7. Click generate, and your image will be created.
8. If needed, you can slightly adjust the prompt for lighting, angle, or mood and generate again.
9. Once you are satisfied with the result, download the image and save it for your use.
Tips to Make The Prompts Better!
You can easily personalise these prompts to match your style, mood, and platform. Use the tips listed below to get better and more unique results.
1. Face Identity & Accuracy
- Always mention “use the provided image for exact face identity (100% preserved)”
- Add: sharp eyes, natural skin texture, no distortion
- If needed, include: same hairstyle, same expression
2. Outfit & Styling
- Change outfits based on your vibe:
- Casual: hoodie, t-shirt, streetwear
- Formal: blazer, suit, satin shirt
- Traditional: saree, kurta, ethnic wear
- Add accessories like watch, chain, sunglasses, rings for a premium look
3. Lighting Control
Lighting plays a huge role in realism:
- Golden hour → warm, soft, aesthetic
- LED/cool light → moody, cinematic
- Flash lighting → bold, high contrast
- Soft indoor light → clean and natural
4. Camera Angle & Composition
- Try different angles for better results:
- Eye level → natural look
- Low angle → powerful vibe
- Side profile → aesthetic feel
- Mirror reflection focus → cinematic style
- Add: shallow depth of field for background blur
5. Background & Environment
- Keep it minimal and clean for a professional look
- Or customise based on theme:
- Hotel room → luxury feel
- Car mirror → lifestyle aesthetic
- Black background → dramatic portrait
- Home setup → cosy vibe
6. Mood & Expression
You can control the emotion of the image:
- Confident & bold
- Calm & introspective
- Soft & smiling
- Serious & moody
7. Colour Grading & Style
- Add finishing styles like:
- Cinematic tone
- Warm vintage look
- Black & white editorial
- High contrast luxury style
- Use: subtle film grain for realism
8. Quality & Output Settings
- Always include:
- 4K or 8K resolution
- Aspect ratio: 4:5 or 3:4 (best for social media)
- Add: ultra-realistic, sharp focus, great detail
9. Age and Year:
You can customize the years shown in the image based on your preference. For more accurate and realistic results, it’s also helpful to specify the character’s age in each time period.
Start with any prompt from this list, then tweak outfit + lighting + mood + background to create endless variations. Small changes can give completely new results.