Ever wondered what you would look like as a cute 3D animated character? With the help of AI, turning yourself into a Disney-inspired version is now easier than ever. All you need is the right prompt. But here’s the thing: not all prompts work well. The better you describe details like the face, lighting, and style, the better your image will look. In this guide, we will show you how to create stunning 3D cartoon versions of yourself using simple AI prompts.
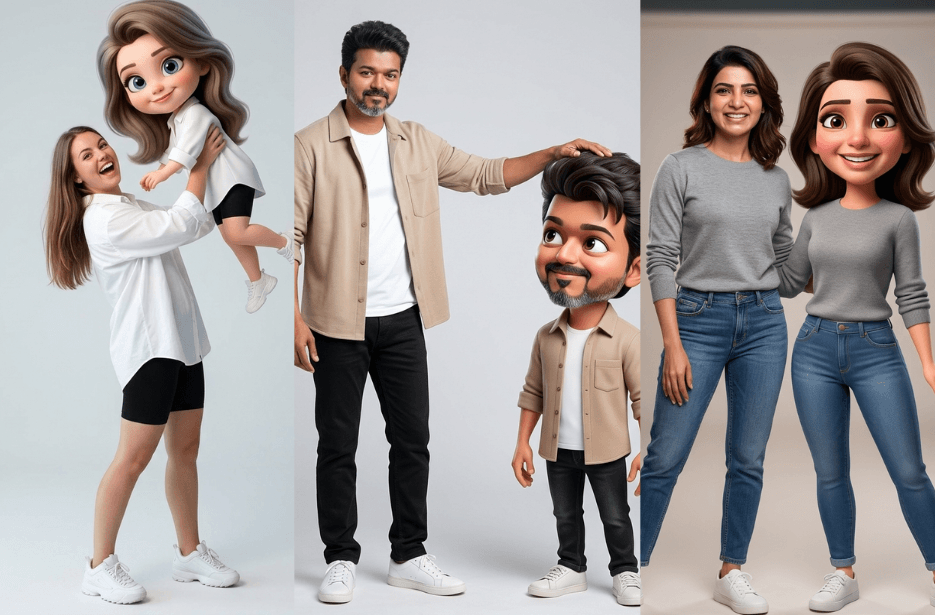
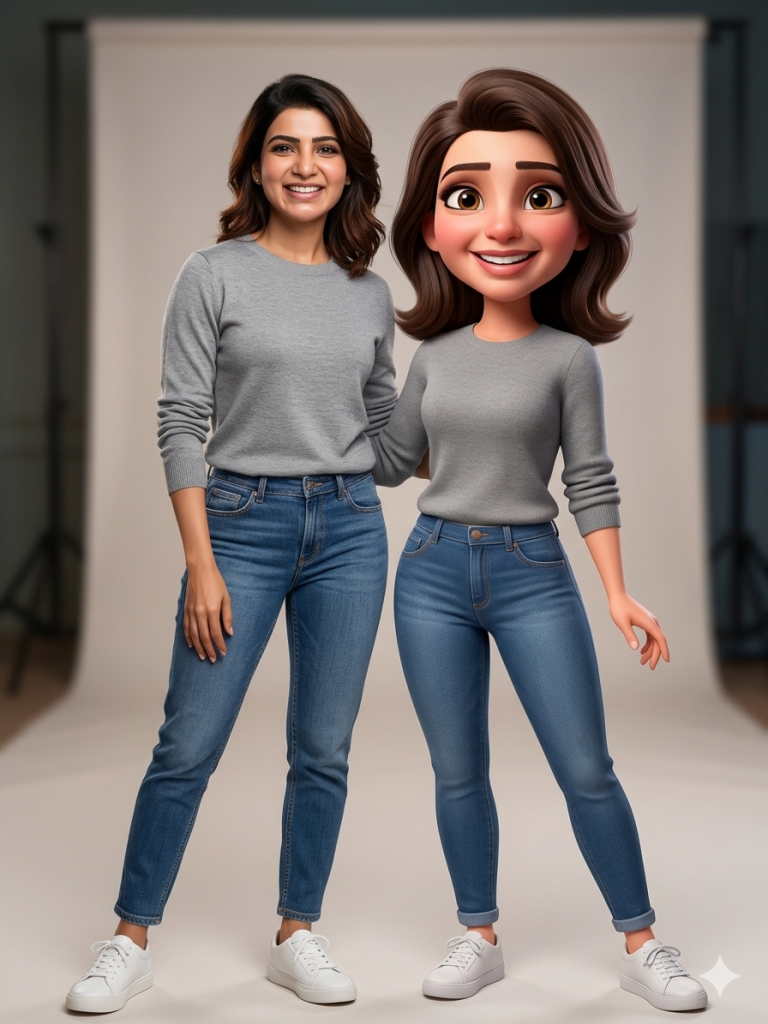
Version 1: Twin Style
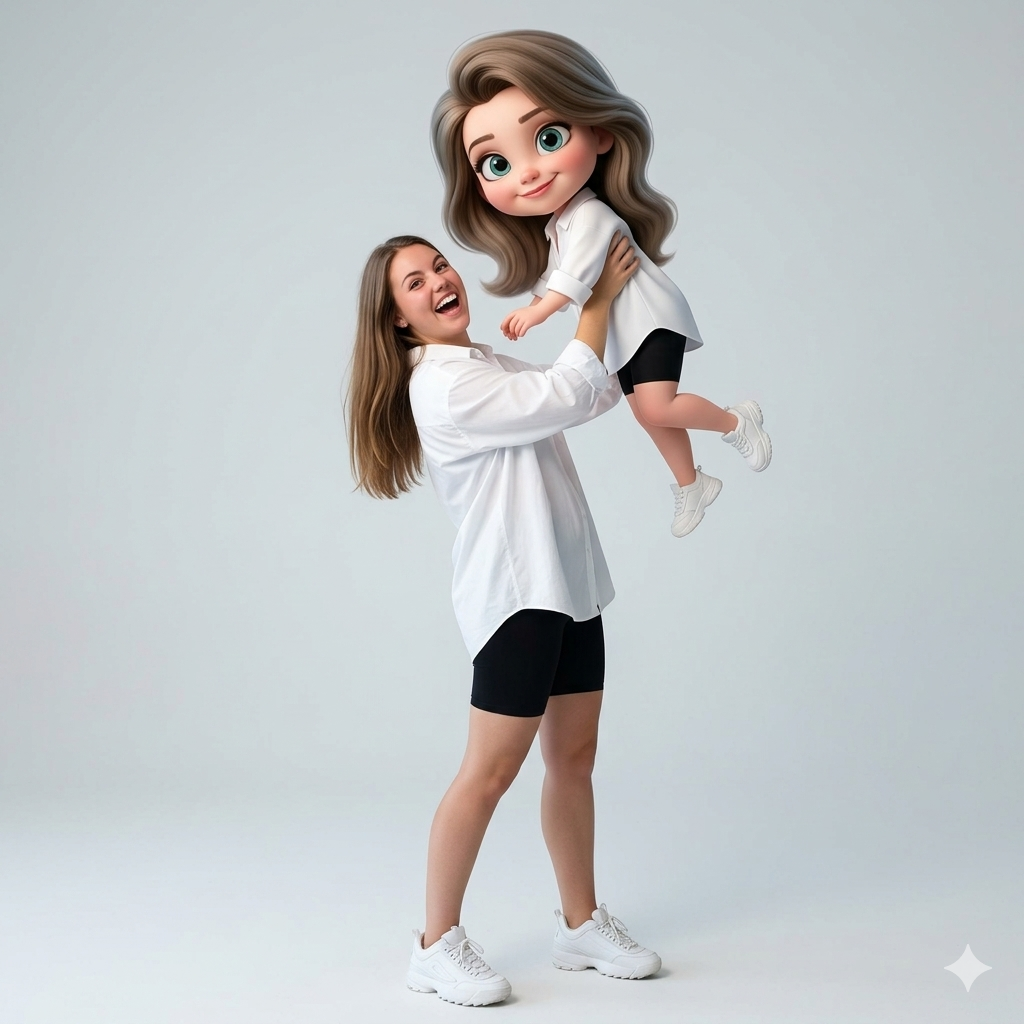
Version 2: Playful Lift
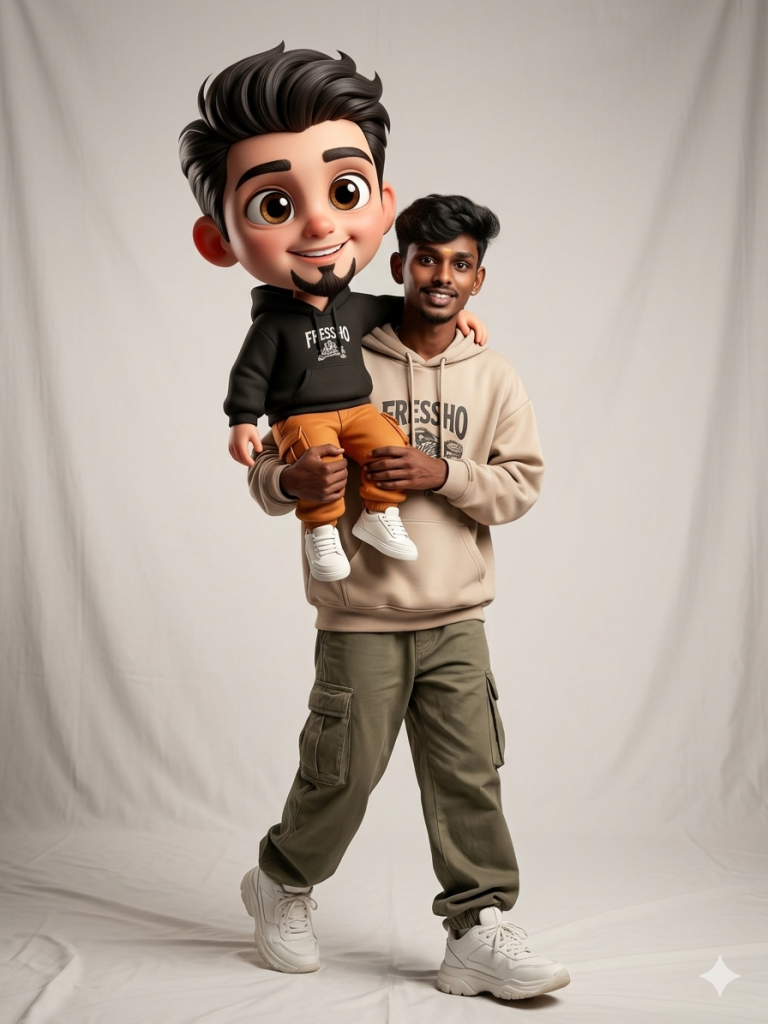
Version 3: Carry Pose
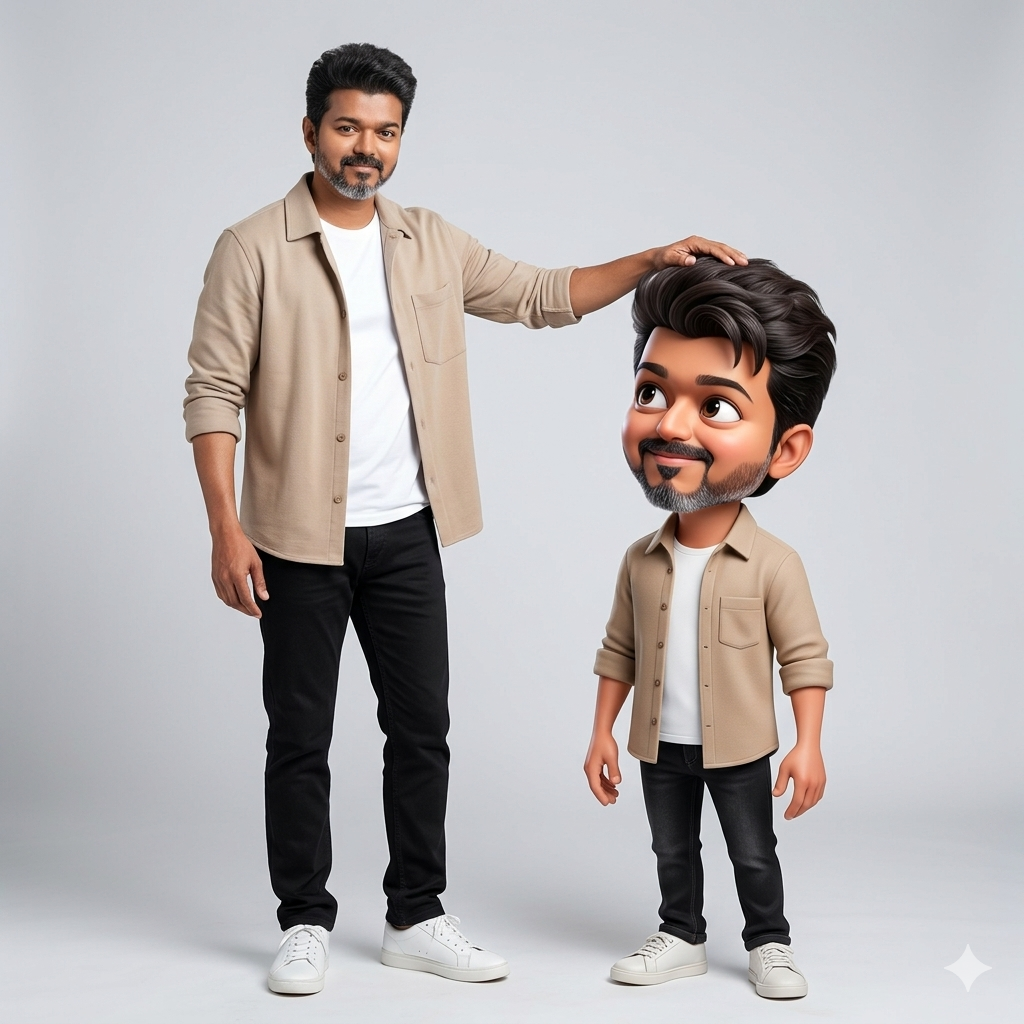
Version 4: Head Pat
How to Use These Prompts
1. Below each image, you will see a prompt box with two buttons: Copy and Share to AI.
2. You can tap Copy to copy the full prompt manually. Or simply tap Share to AI; this will automatically copy the prompt for you.
3. After tapping Share to AI, a list of popular AI tools like ChatGPT, Gemini, Copilot, and others will appear on your screen.
4. Click on any AI tool you prefer. It will directly open the selected AI platform.
5. Once the AI page opens, paste the prompt into the prompt box (it is already copied if you used Share to AI).
6. Upload your reference image if required.
7. Click generate, and your image will be created.
8. If needed, you can slightly adjust the prompt for lighting, angle, or mood and generate again.
9. Once you are satisfied with the result, download the image and save it for your use.
Tips to Make The Prompts Better!
You can easily personalise these prompts to match your style, mood, and platform. Use the tips listed below to get better and more unique results.
1. Face Identity & Accuracy
- Always mention “use the provided image for exact face identity (100% preserved)”
- Add: sharp eyes, natural skin texture, no distortion
- If needed, include: same hairstyle, same expression
2. Outfit & Styling
- Change outfits based on your vibe:
- Casual: hoodie, t-shirt, streetwear
- Formal: blazer, suit, satin shirt
- Traditional: saree, kurta, ethnic wear
- Add accessories like watch, chain, sunglasses, rings for a premium look
3. Lighting Control
Lighting plays a huge role in realism:
- Golden hour → warm, soft, aesthetic
- LED/cool light → moody, cinematic
- Flash lighting → bold, high contrast
- Soft indoor light → clean and natural
4. Camera Angle & Composition
- Try different angles for better results:
- Eye level → natural look
- Low angle → powerful vibe
- Side profile → aesthetic feel
- Mirror reflection focus → cinematic style
- Add: shallow depth of field for background blur
5. Background & Environment
- Keep it minimal and clean for a professional look
- Or customise based on theme:
- Hotel room → luxury feel
- Car mirror → lifestyle aesthetic
- Black background → dramatic portrait
- Home setup → cosy vibe
6. Mood & Expression
You can control the emotion of the image:
- Confident & bold
- Calm & introspective
- Soft & smiling
- Serious & moody
7. Colour Grading & Style
- Add finishing styles like:
- Cinematic tone
- Warm vintage look
- Black & white editorial
- High contrast luxury style
- Use: subtle film grain for realism
8. Quality & Output Settings
- Always include:
- 4K or 8K resolution
- Aspect ratio: 4:5 or 3:4 (best for social media)
- Add: ultra-realistic, sharp focus, great detail.
Start with any prompt from this list, then tweak outfit + lighting + mood + background to create endless variations. Small changes can give completely new results.